Foreword
This tutorial covers setting up a static IP address for a wireless connection on Fedora 24/25.
This static IP address is for use locally within a home network.
Prerequisites
You will need:
- Fedora 24 or 25
- A wireless card or Ethernet connection
Steps
Find the Available Connections
1. Run the following command to see the available connections:
$ nmcli connection show
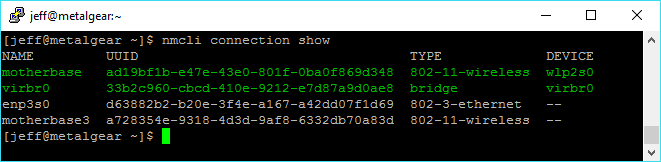
In my case I’m already using a wireless connection named ‘motherbase‘
Edit the Connection
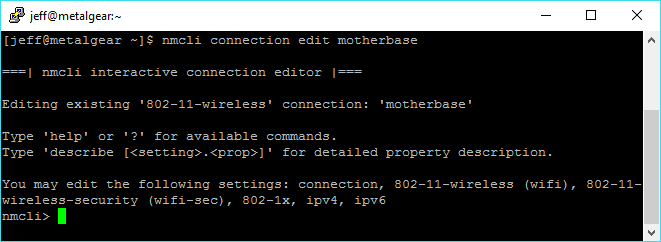
2. Run the following command to edit the connection in the Network Manager Command Line Interface (nmcli) Tool:
$ nmcli connection edit motherbase
Set the Static IPv4 Address
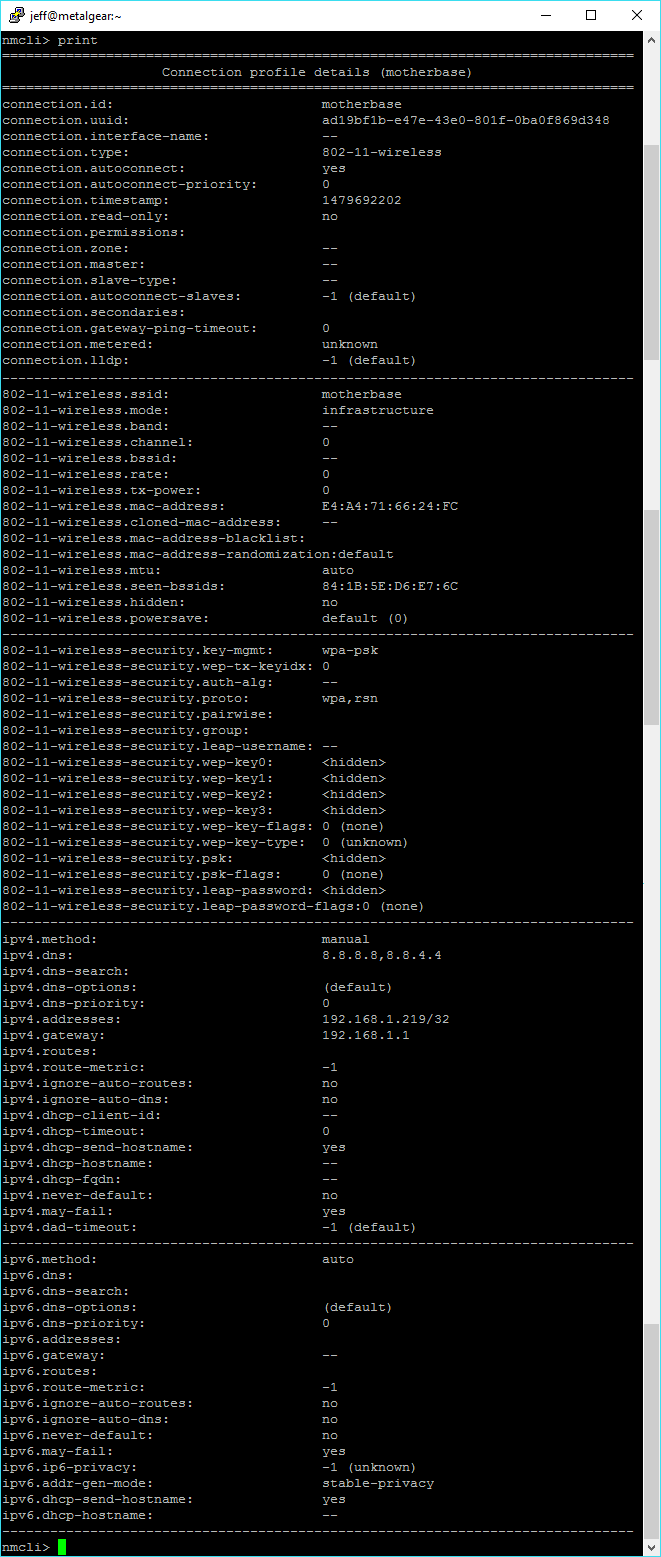
3. Run the following command to set the static IP address (use whatever IP address you prefer):
nmcli > set ipv4.addresses 192.168.1.219
Note: nmcli will ask if you want to also set ipv4.methods to ‘manual‘ instead of the default ‘auto’. Enter ‘yes‘
Update the DNS Servers (optional)
4. Run the following command to set your DNS servers to Google’s:
nmcli > set ipv4.dns 8.8.8.8,8.8.4.4
I use Google’s DNS servers because my IPS’s crap out from time to time
Verify the Settings
5. Run the following command to print out all of the settings, and verify their values are set properly:
nmcli > print
Save the Settings
6. Run the following command to save the settings if they all appear to be correct:
nmcli > save persistent
Restart Network Manager
7. Run the following command to restart the Network Manager so the changes take effect:
$ sudo systemctl restart NetworkManager
Check Network Interfaces to Verify the Static IP Address
8. Run the following command to check that the static IP address is set:
$ ifconfig
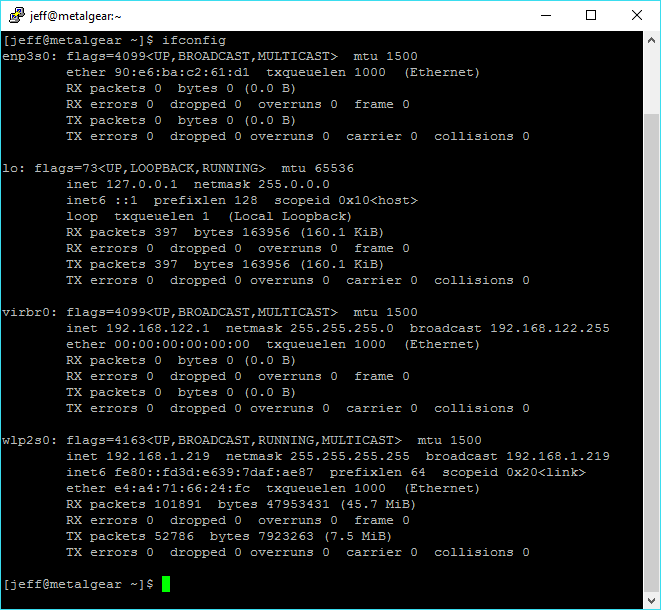
My wireless interface (wlp2s0) is now using an IP address (inet) of 192.168.1.219
Foreword
I could not find any good options to put Fedora 25 Beta on an SD card using Windows, so I used VMWare Player with a Fedora 24. This tutorial will cover all of the steps I took.
Prerequisites
You will need:
- VMWare Workstation 12 Player
- Fedora 24 Workstation ISO
- Raspberry Pi 3
- Micro SD Card (16 GB+)*
- Fedora 25 Beta Image for Raspberry Pi 3
* Note: Format the SD card to FAT32
Steps
Configure VMWare Player
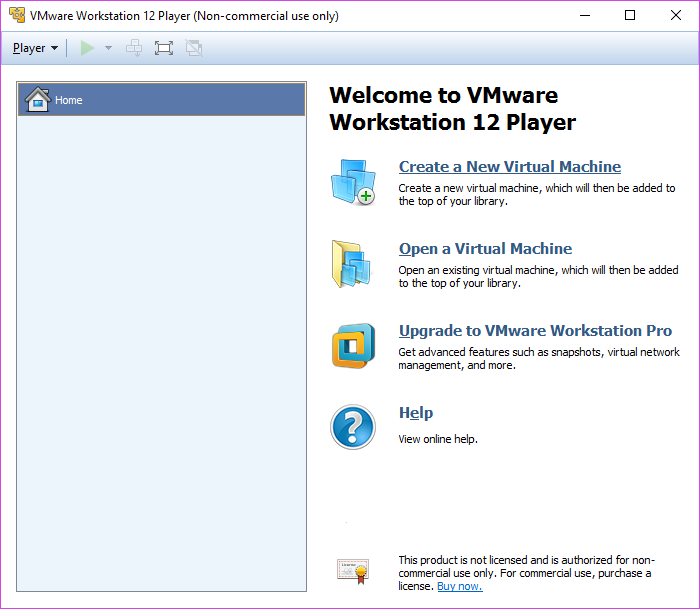
1. Start VMWare Player and select the option to ‘Create a New Virtual Machine’:
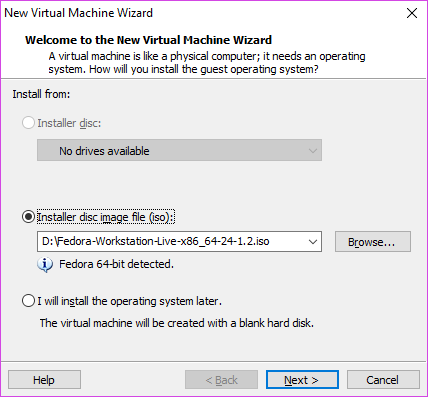
2. At the install prompt, select the ‘Installer disc image file (iso):’ option and click the Browse button to select the location of the Fedora 24 .iso file:
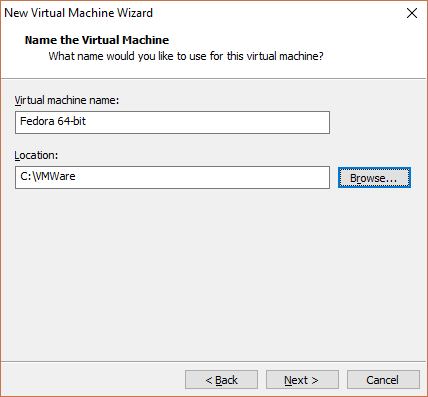
3. Give the virtual machine a name and a location to store its virtual hard drive:
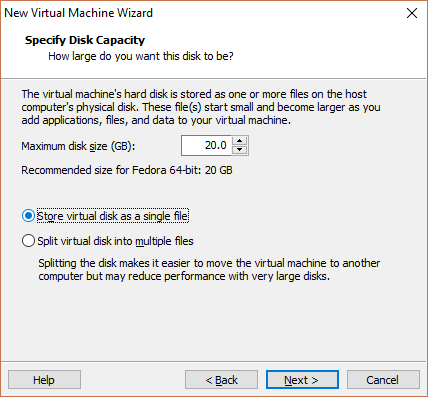
4. Set the capacity of the virtual hard drive to at least 20 GB, and select the option to store the virtual disk as a single file (for performance):
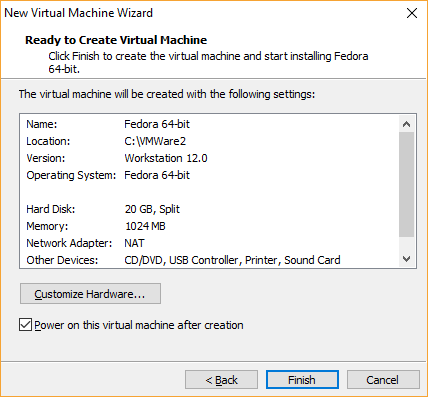
5. Click the Finish button to complete the setup and begin the installation of Fedora 24 Workstation:
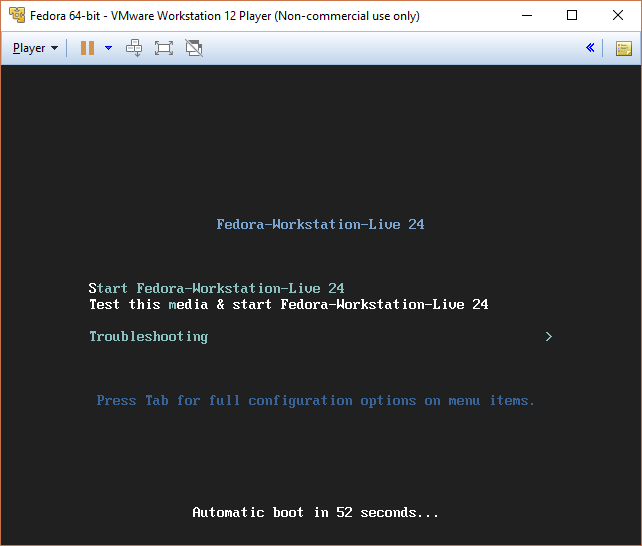
6. Follow the prompts on screen to complete the installation of Fedora 24:
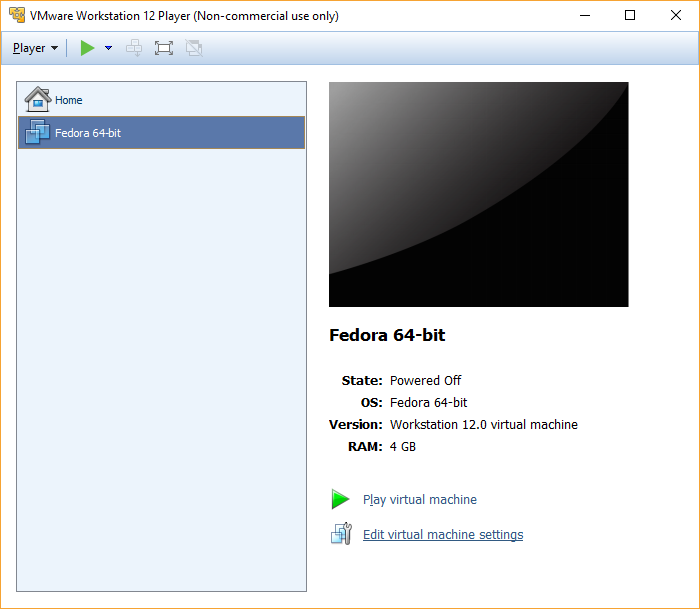
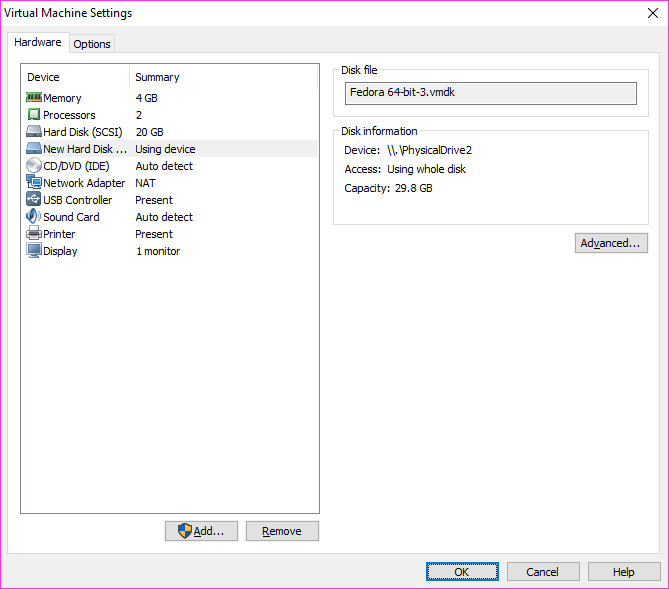
7. After installation, shut down Fedora 24 and go back to VMWare Player to ‘Edit virtual machine settings’:
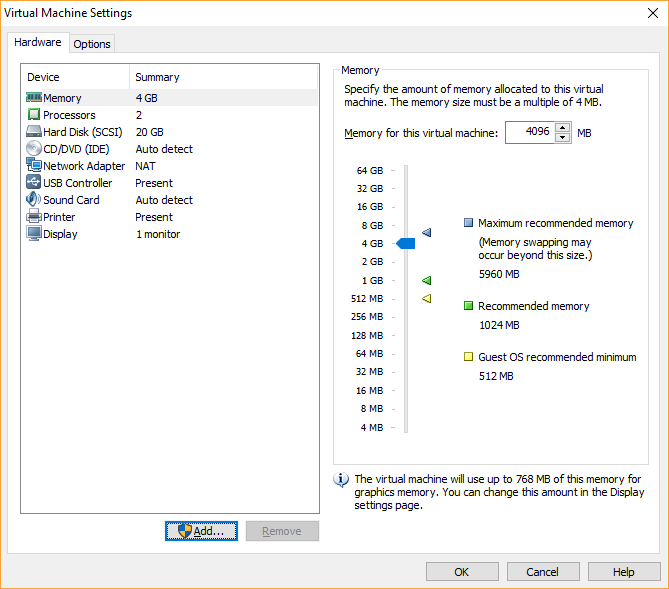
8. Select the Add button:
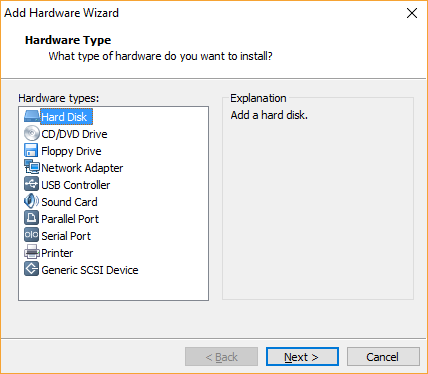
9. Select the Hard Disk option:
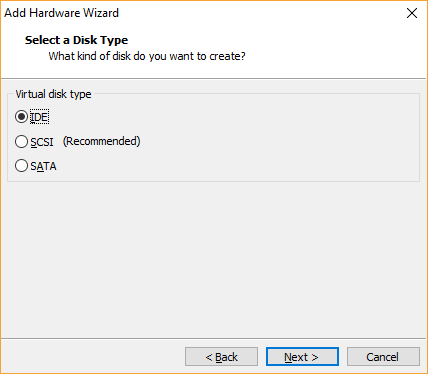
10. Select IDE:
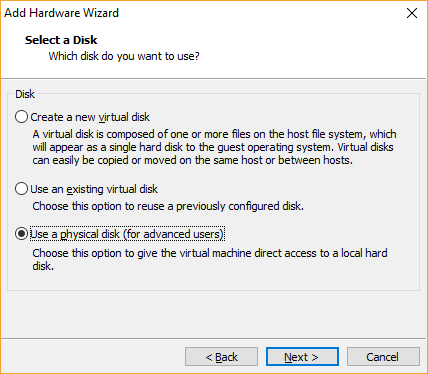
11. Select the option to use a physical disk:
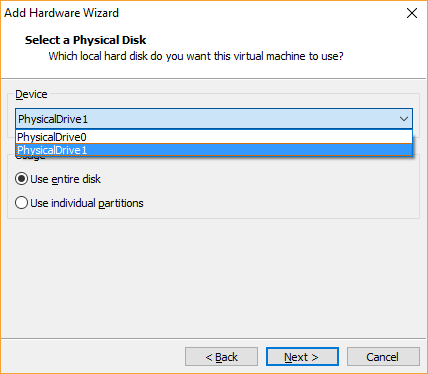
12. Select the PhysicalDrive corresponding to your SD card (generally the last one on the list):
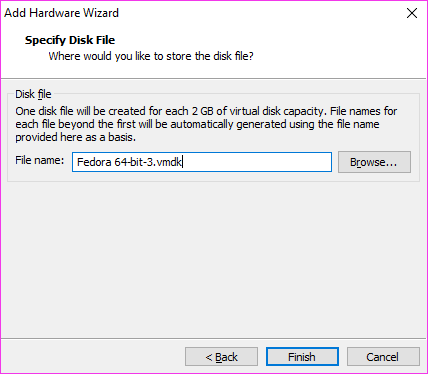
13. Give the disk file a name:
14. Verify the capacity appears to be correct for your SD card:
Locate the SD Card
15. Boot the VM, open Terminal, switch to the root user ($ sudo su –), and run the following commands to find the SD card:
# blkid
# lsblk
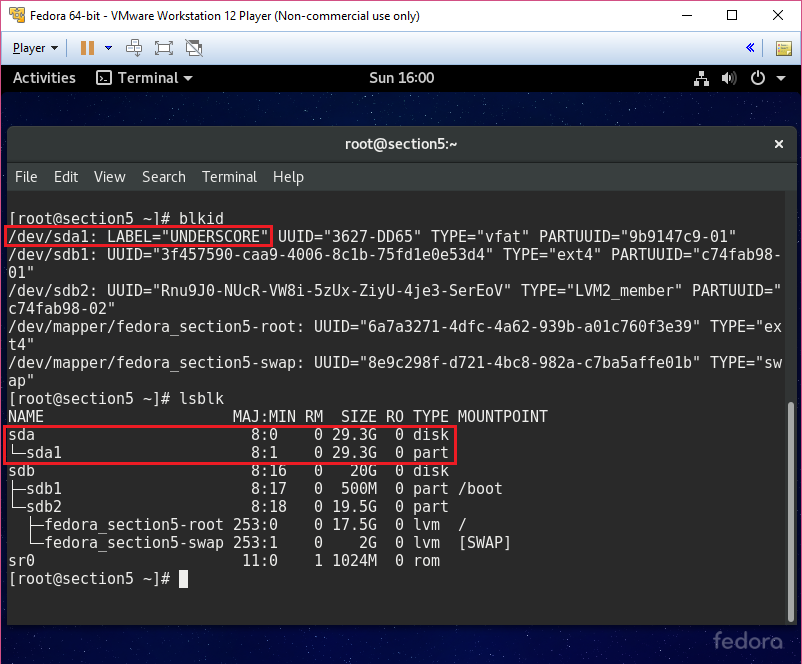
Notice that the SD card is showing up as sda, with the primary partition being sda1.
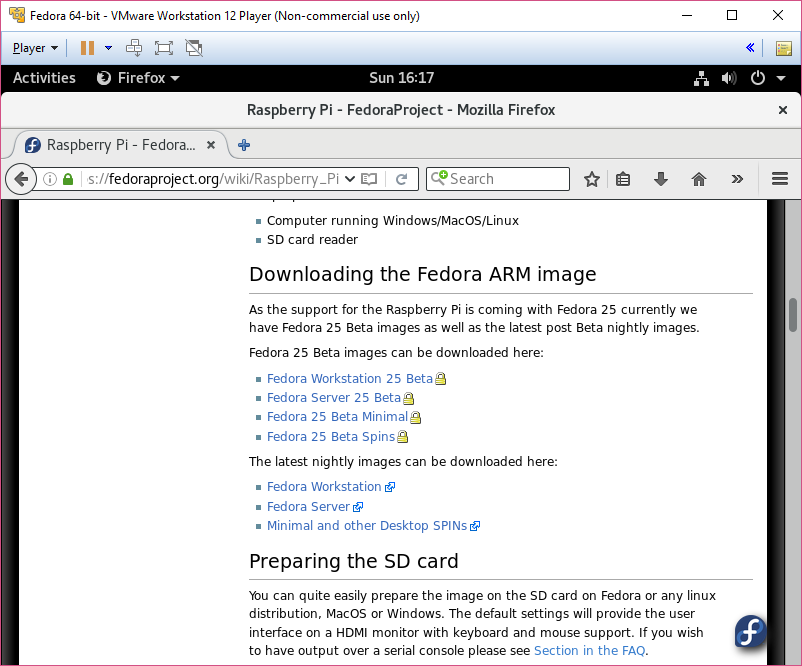
Download Fedora 25 Beta
16. Open Firefox, go to https://fedoraproject.org/wiki/Raspberry_Pi , and download either the Workstation or Server edition of Fedora 25 Beta:
I found the Workstation edition to work okay, but I preferred Server edition for performance
Install and Use the Fedora-ARM-Installer
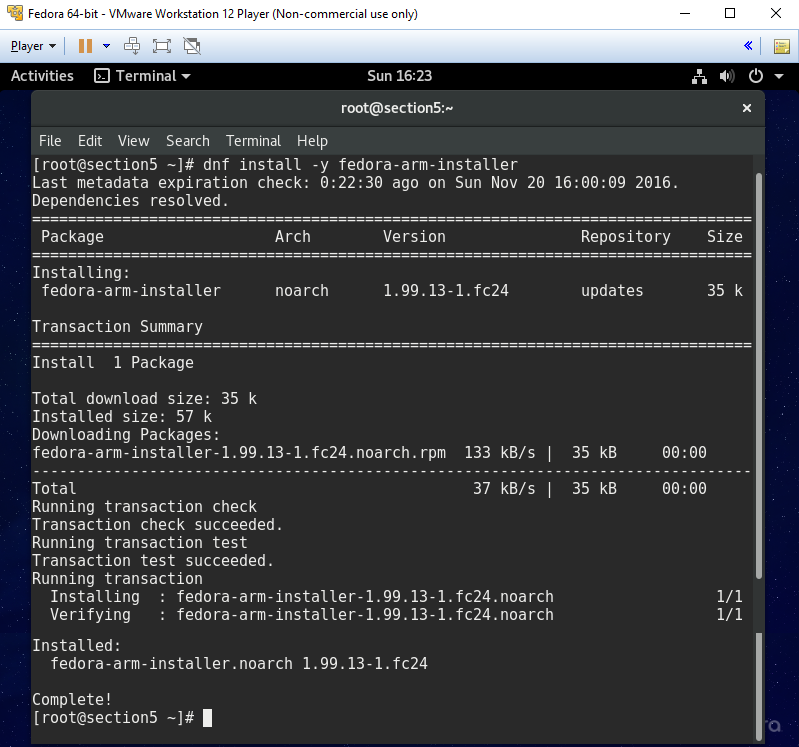
17. Run the following command to install the Fedora-ARM-Installer:
# dnf install -y fedora-arm-installer
18. Copy the Fedora 25 Beta image file from your user’s Downloads directory to the root user’s home directory:
# mv /home/<user>/Downloads/Fedora-Server-armhfp-25_Beta-1.1-sda.raw.xz /root/
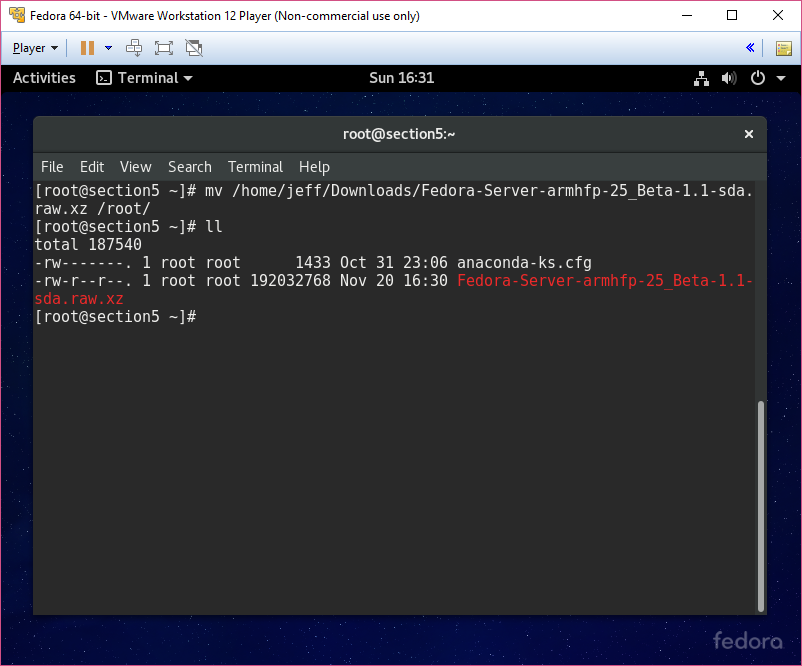
Tip: Pressing the Tab key in Linux will autocomplete filenames for you.
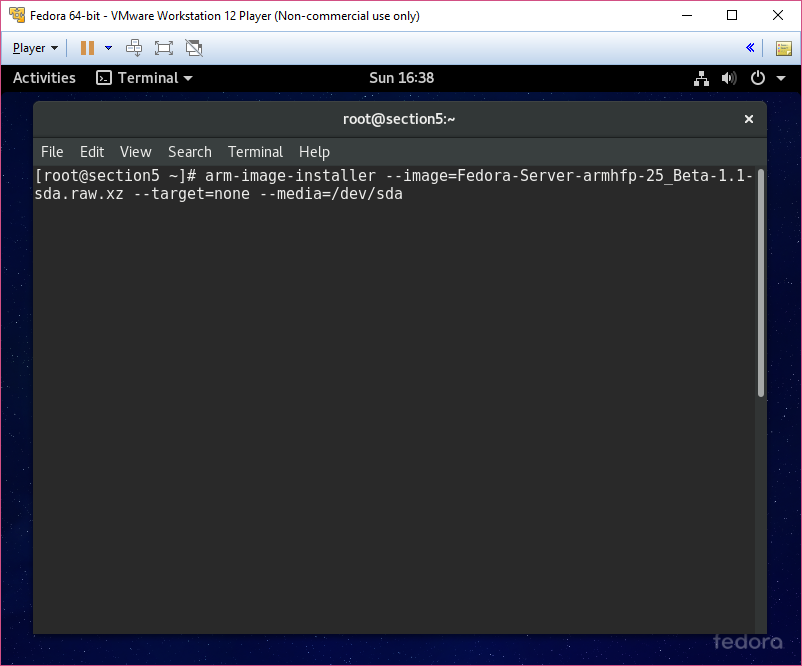
19. Run the following command to start the imaging process on the SD card:
# arm-image-installer –image=Fedora-Server-armhfp-25_Beta-1.1-sda.raw.xz –target=none –media=/dev/sda
20. Type YES to proceed with the imaging:
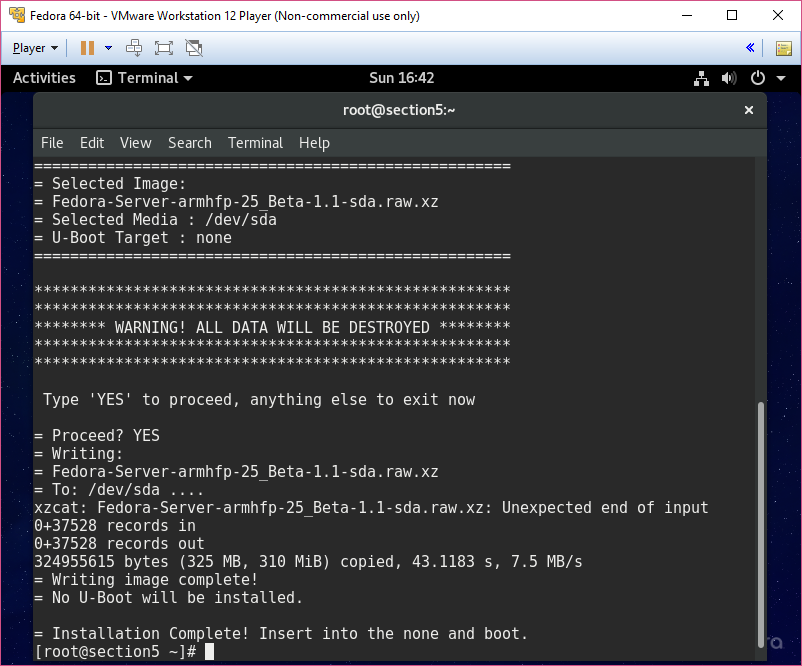
21. Shutdown the VM, pop the SD Card into the Pi, and enjoy!

Note: This last picture is from when I loaded the Fedora 25 Beta Workstation edition.
I figured the graphical interface makes a better picture to look at than the plain terminal.